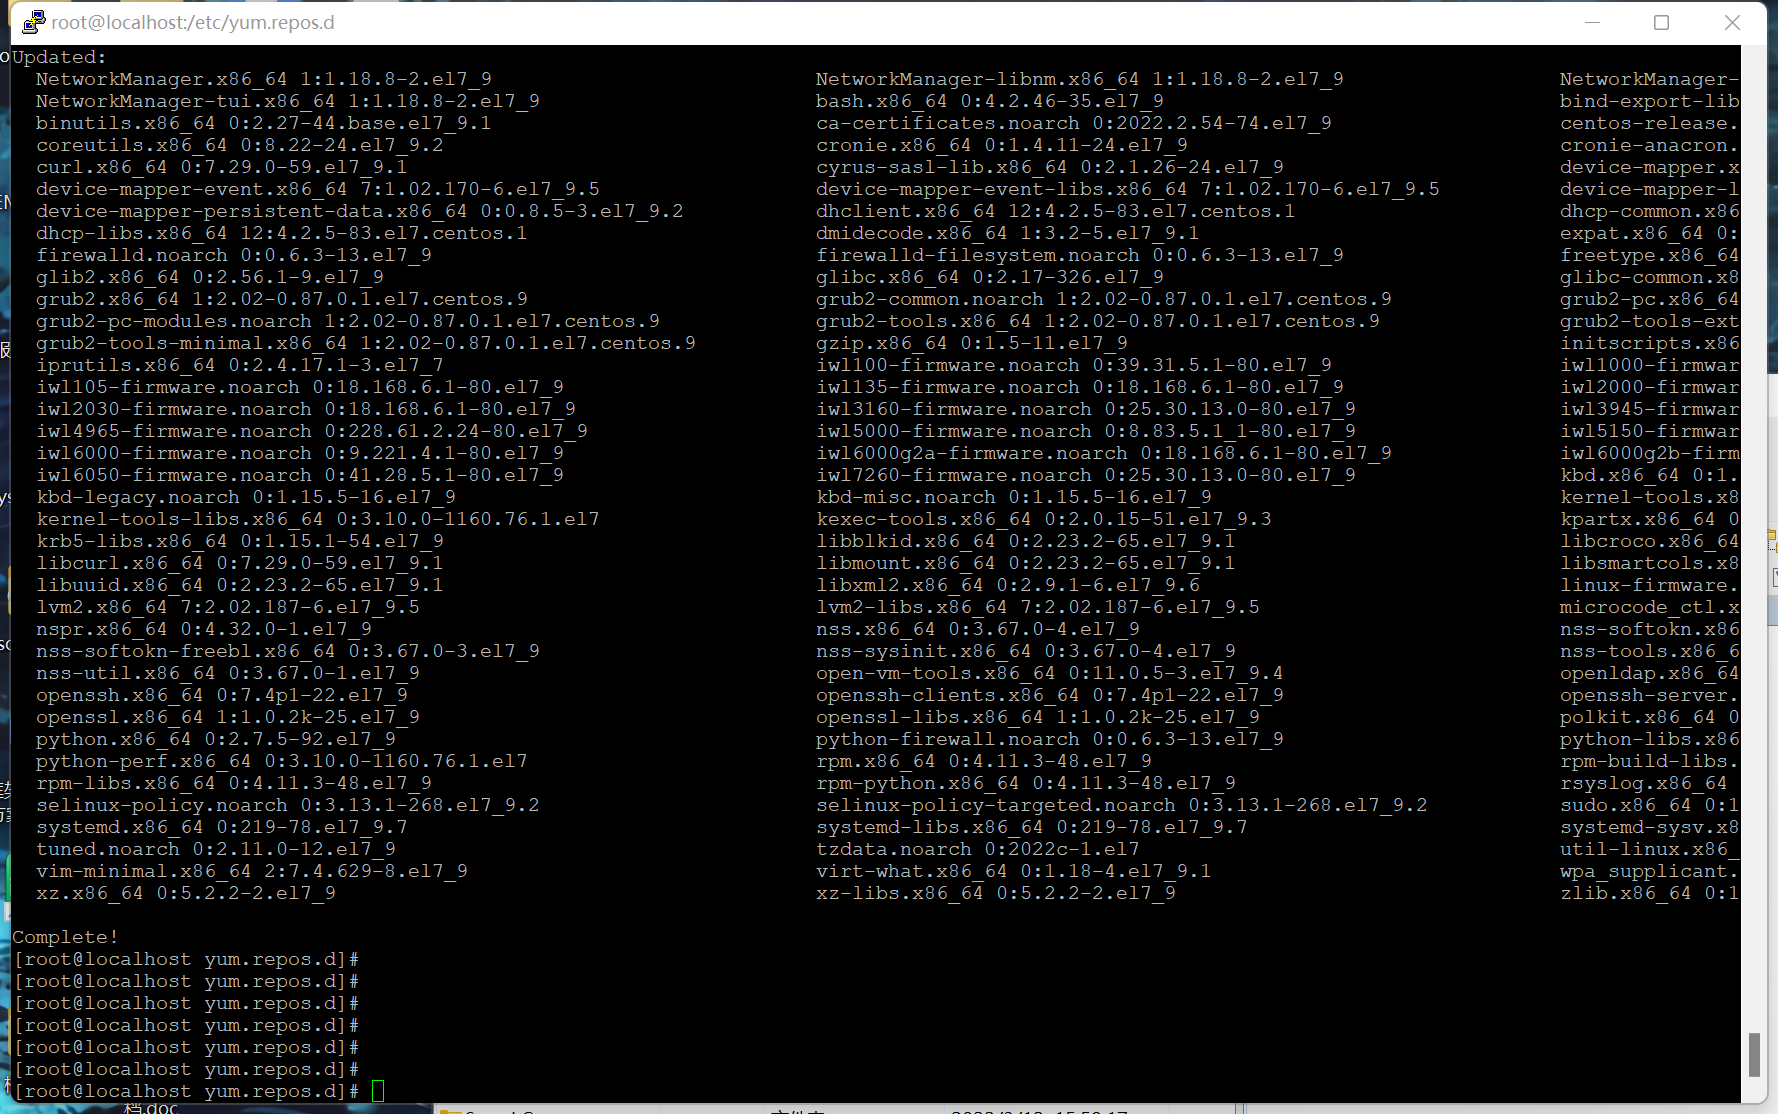
一、制作Centos7系统
二、下载Cloudreve
GitHub:https://github.com/cloudreve/Cloudreve
下载路径:https://github.com/cloudreve/Cloudreve/releases/
三、安装Cloudreve
解压压缩包
tar -zxvf cloudreve_3.5.3_linux_amd64.tar.gz
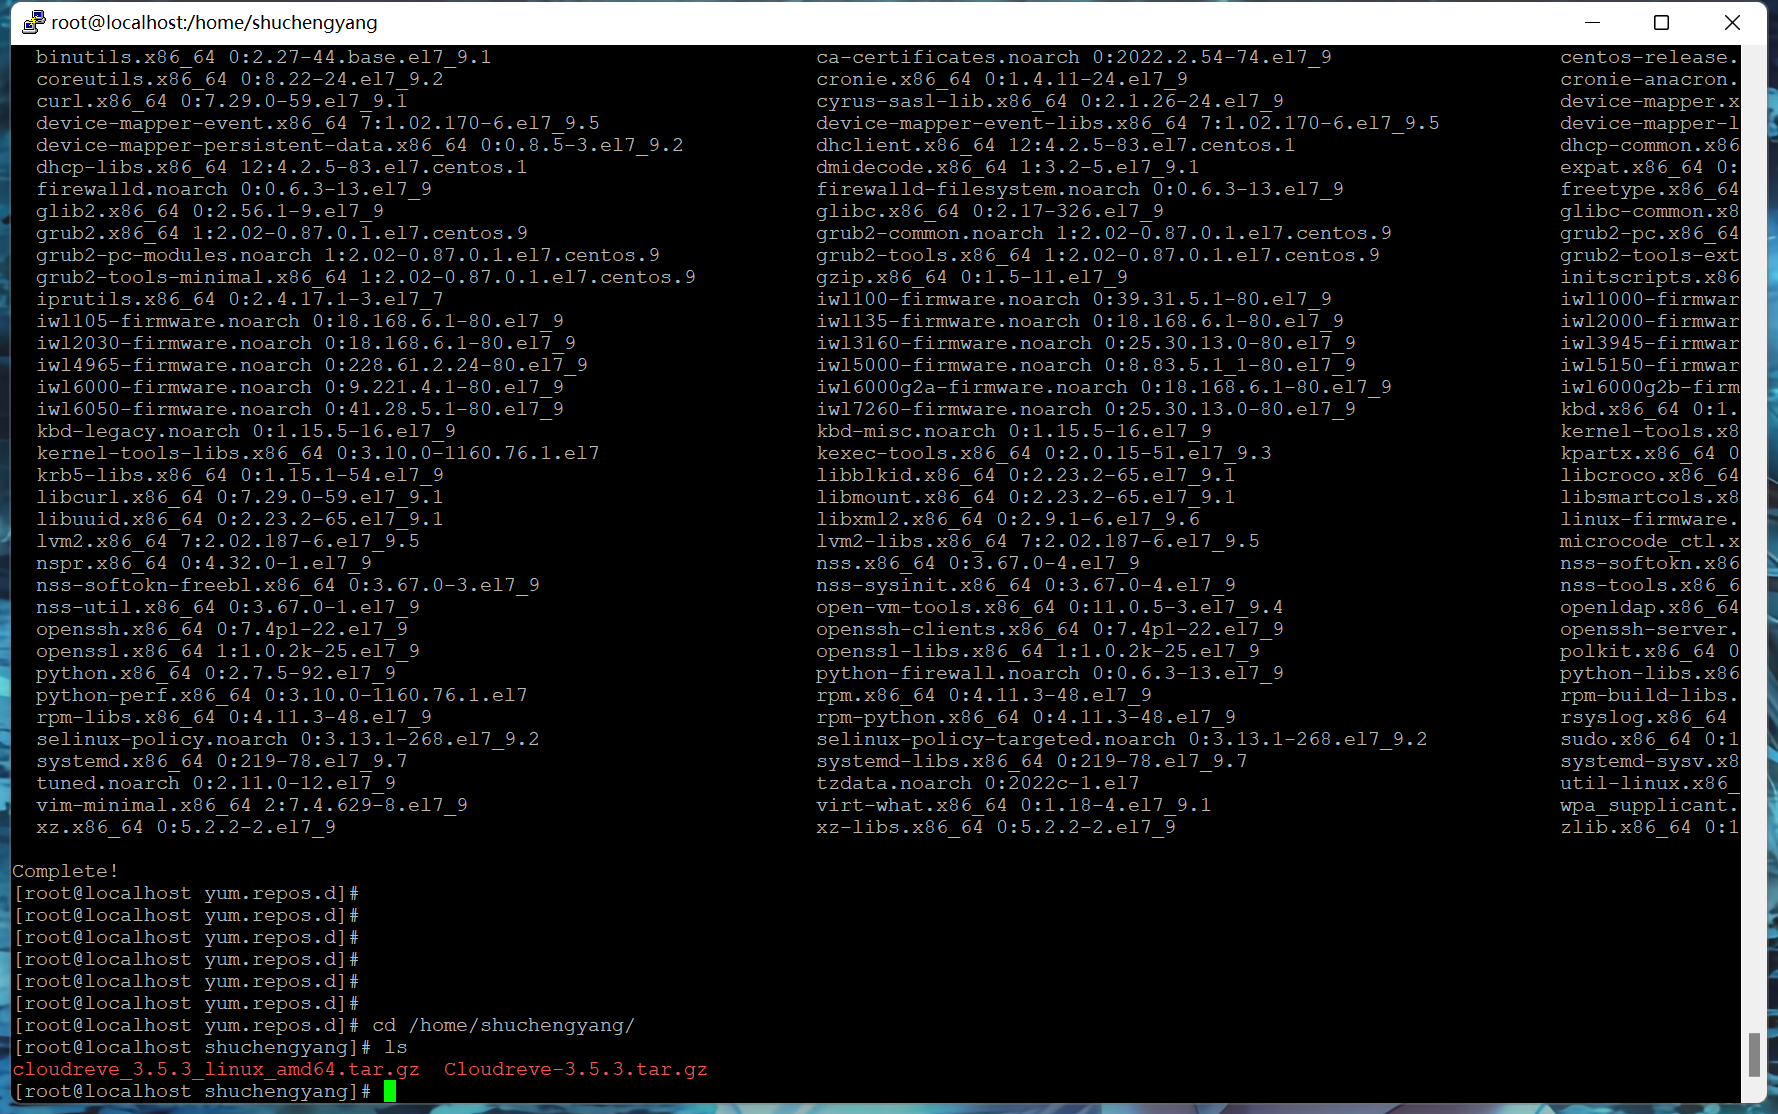
[root@localhost shuchengyang]# ls
cloudreve_3.5.3_linux_amd64.tar.gz  Cloudreve-3.5.3.tar.gz
[root@localhost shuchengyang]# tar -zxvf cloudreve_3.5.3_linux_amd64.tar.gz
cloudreve
[root@localhost shuchengyang]# tar -zxvf cloudreve_3.5.3_linux_amd64.tar.gz
cloudreve
[root@localhost shuchengyang]# ls
cloudreve  cloudreve_3.5.3_linux_amd64.tar.gz  Cloudreve-3.5.3.tar.gz
[root@localhost shuchengyang]# mkdir Cloudreve
[root@localhost shuchengyang]# mv cloudreve Cloudreve
[root@localhost shuchengyang]# ls
Cloudreve  cloudreve_3.5.3_linux_amd64.tar.gz  Cloudreve-3.5.3.tar.gz
[root@localhost shuchengyang]# cd Cloudreve
[root@localhost Cloudreve]# ls
cloudreve
[root@localhost Cloudreve]#
四、启动程序
 cd /opt/
[root@localhost opt]# ls
Cloudreve
[root@localhost opt]# cd Cloudreve/
[root@localhost Cloudreve]# ls
cloudreve
[root@localhost Cloudreve]# ./cloudreve

   ___ _                 _
  / __\ | ___  _   _  __| |_ __ _____   _____
 / /  | |/ _ \| | | |/ _  | '__/ _ \ \ / / _ \
/ /___| | (_) | |_| | (_| | | |  __/\ V /  __/
\____/|_|\___/ \__,_|\__,_|_|  \___| \_/ \___|

   V3.5.3  Commit #0e5683b  Pro=false
================================================

[Info]    2022-10-02 07:29:48 初始化数据库连接
[Info]    2022-10-02 07:29:48 开始进行数据库初始化...
[Info]    2022-10-02 07:29:48 初始管理员账号:admin@cloudreve.org
[Info]    2022-10-02 07:29:48 初始管理员密码:4Xz2FaET
[Info]    2022-10-02 07:29:48 开始执行数据库脚本 [UpgradeTo3.4.0]
[Info]    2022-10-02 07:29:48 数据库初始化结束
[Info]    2022-10-02 07:29:48 初始化任务队列,WorkerNum = 10
[Info]    2022-10-02 07:29:48 初始化定时任务...
[Info]    2022-10-02 07:29:48 当前运行模式:Master
[Info]    2022-10-02 07:29:48 开始监听 :5212
为不阻塞,此次以后台启动
nohup /opt/cloudreve/cloudreve &
此方法启动不太科学,根据官网设置启动服务
# 编辑配置文件
vim /usr/lib/systemd/system/cloudreve.service
[Unit]
Description=Cloudreve
Documentation=https://docs.cloudreve.org
After=network.target
After=mysqld.service
Wants=network.target

[Service]
WorkingDirectory=/opt/cloudreve/
ExecStart=/opt/cloudreve/cloudreve
Restart=on-abnormal
RestartSec=5s
KillMode=mixed

StandardOutput=null
StandardError=syslog

[Install]
WantedBy=multi-user.target
服务管理命令
# 更新配置
systemctl daemon-reload

# 启动服务
systemctl start cloudreve

# 设置开机启动
systemctl enable cloudreve
# 启动服务
systemctl start cloudreve

# 停止服务
systemctl stop cloudreve

# 重启服务
systemctl restart cloudreve

# 查看状态
systemctl status cloudreve
五、服务启动后,发现无法使用
开启防火墙,防火墙操作命令
# 停止防火服务
[root@localhost ~]# systemctl stop firewalld
# 查看防火墙的当前状态
[root@localhost ~]# systemctl status firewalld
# 开机禁止启动防火墙
[root@localhost ~]# systemctl disable firewalld
查看防火墙开发端口
[root@localhost Cloudreve]# firewall-cmd --permanent --zone=public --list-ports
此处我修改了启动端口,所以防火墙开放8080
firewall-cmd --zone=public --add-port=8080/tcp --permanent
firewall-cmd --reload
开放、关闭防火墙端口(root用户执行)
firewall-cmd --zone=public --add-port=XXXXX/tcp --permanent   # 开放XXXXX端口
firewall-cmd --zone=public --remove-port=XXXXX/tcp --permanent  #关闭XXXXX端口
firewall-cmd --reload   # 配置立即生效
firewall-cmd --zone=public --query-port=XXXXX/tcp   # 验证新增增加开放的端口是否生效
注:--permanent意思是永久生效,没有此参数则重启后失效

查看防火墙开放了哪些端口
firewall-cmd  --permanent --zone=public --list-ports

查看防火墙状态
firewall-cmd --state

开启、关闭防火墙
systemctl start firewalld.service   # 开启防火墙
systemctl stop firewalld.service   # 关闭防火墙
systemctl disable firewalld.service   # 禁止防火墙开机启动
systemctl enable firewalld.service   # 设置防火墙开机自启动
firewall-cmd --reload   # 重启防火墙

查看监听的端口
netstat -lnpt
注:centos7默认没有 netstat 命令,需要安装 net-tools 工具,yum install -y net-tools

检查端口被哪个进程占用
netstat -lnpt |grep 8080
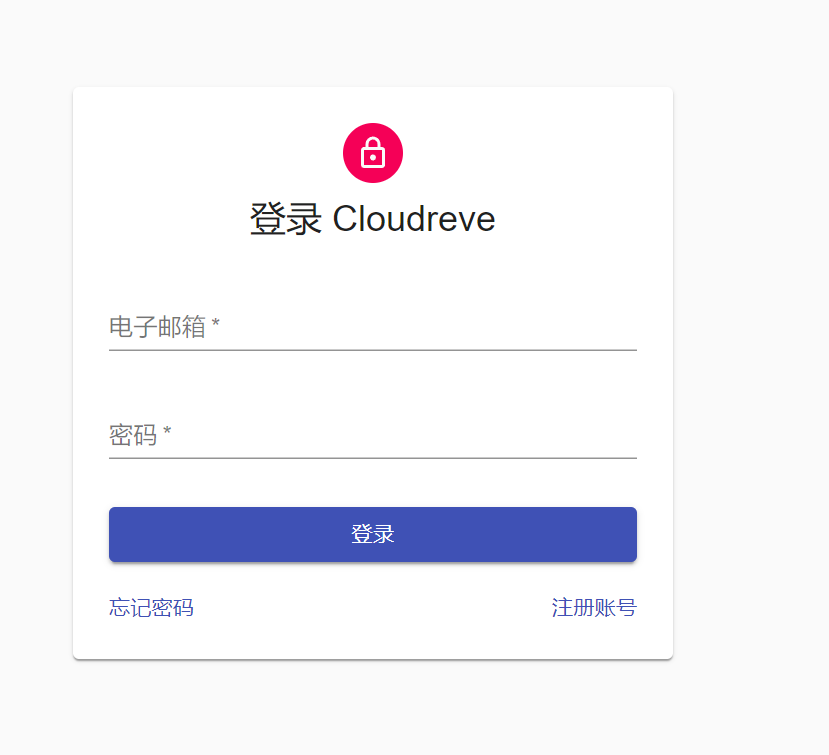
六、重新刷新界面
搭建完成!!!!!!!!!!!!!!!!


还没有评论,来说两句吧...